Transforming the interior of your home by tackling drywall installation can seem daunting at first glance, yet with the right approach and a bit of patience, anyone can achieve professional-looking results. Whether you are renovating a single room or undertaking a larger project, understanding the fundamentals of handling plasterboard will ensure that your walls and ceilings boast a smooth, seamless finish. This guide will walk you through the essential stages of preparation, the techniques required for a flawless installation, and the finishing touches that elevate your work from amateur to expert.
Essential preparation and planning before hanging plasterboard
Before you even lift the first sheet of plasterboard, meticulous preparation sets the stage for success. The groundwork you lay now will determine the quality of the final result, so it is worth investing time in getting everything just right. Begin by clearing the space of any obstacles, ensuring that furniture is covered or removed entirely to avoid dust and debris. This initial step not only protects your belongings but also provides you with the freedom to move around comfortably as you work. Equally important is ensuring that the room is well-ventilated, as dust can quickly accumulate during cutting and sanding phases.
Measuring your space and calculating material requirements
Accurate measurement is the cornerstone of any successful drywall project. Start by measuring the height and width of each wall and ceiling that you intend to cover, noting down the dimensions carefully. It is advisable to add a small margin for error, typically around five to ten percent, to account for any miscalculations or wastage during cutting. This extra allowance ensures that you have enough material to complete the job without unnecessary delays. When calculating the number of sheets required, consider the standard dimensions of plasterboard available in your area, which typically measure either eight feet by four feet or ten feet by four feet. By dividing the total area to be covered by the area of a single sheet, you can estimate the quantity needed. Do not forget to factor in openings such as doors, windows, and any other features that will reduce the total coverage required. For those seeking convenience, many suppliers offer free delivery on orders over a certain threshold, which can save both time and effort when transporting bulky materials. Additionally, a price match guarantee ensures that you are getting the best deal available, making it worthwhile to shop around and compare offers.
Gathering the Proper Tools and Safety Equipment for the Job
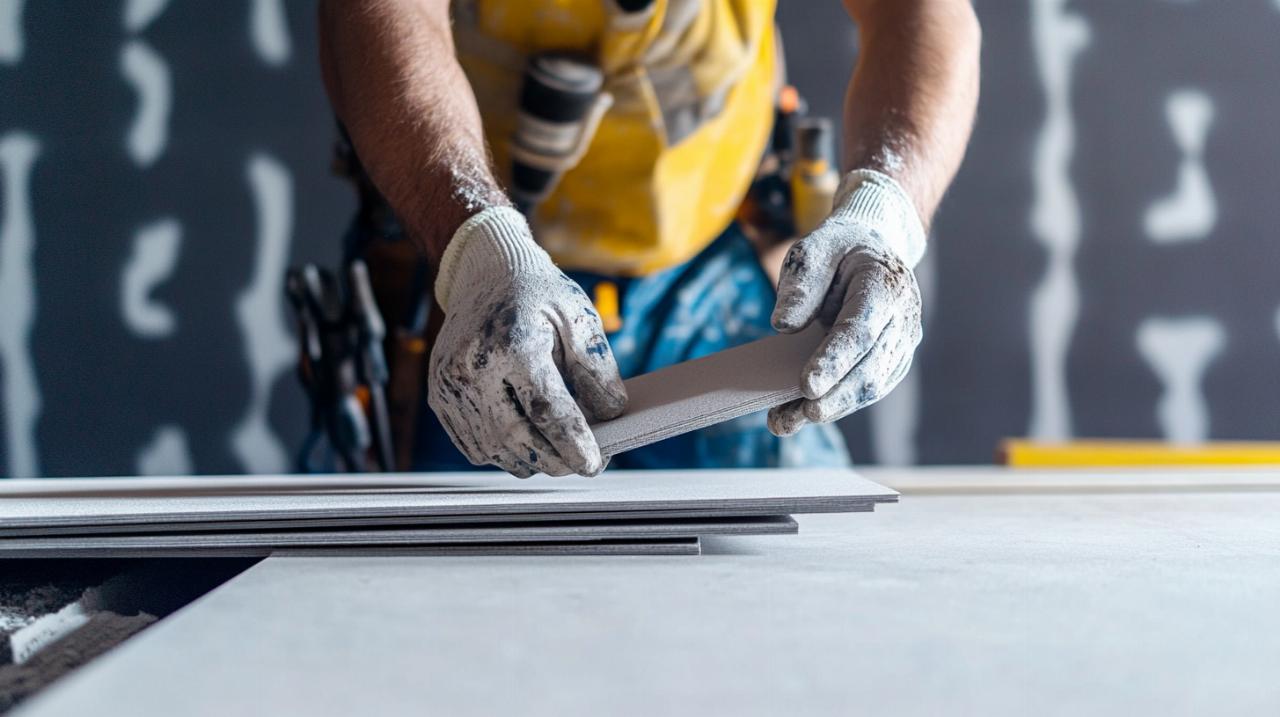
Having the right tools at your disposal is essential for a smooth and efficient installation process. A utility knife with a sharp blade is indispensable for scoring and cutting plasterboard, while a T-square or straight edge ensures clean, straight lines. You will also need a screw gun or drill with an adjustable clutch to drive screws into the studs or joists without over-tightening, which can damage the board. A tape measure, pencil, and chalk line are vital for marking guidelines, and a drywall saw or jab saw will help you cut out openings for electrical outlets, light switches, and other fixtures. Safety should never be an afterthought, so equip yourself with protective goggles to shield your eyes from dust and debris, a dust mask to avoid inhaling fine particles, and sturdy gloves to protect your hands. A stepladder or scaffold may be necessary for reaching ceilings and high walls, ensuring that you can work comfortably and safely. Before commencing, it is wise to conduct a thorough safety check of the area, ensuring that electrical wiring and plumbing are clearly identified and that you have adequate lighting to see what you are doing. Taking these precautions not only protects you but also prevents costly mistakes that could arise from poor visibility or hasty work.
Professional Techniques for Achieving a Flawless Plasterboard Installation
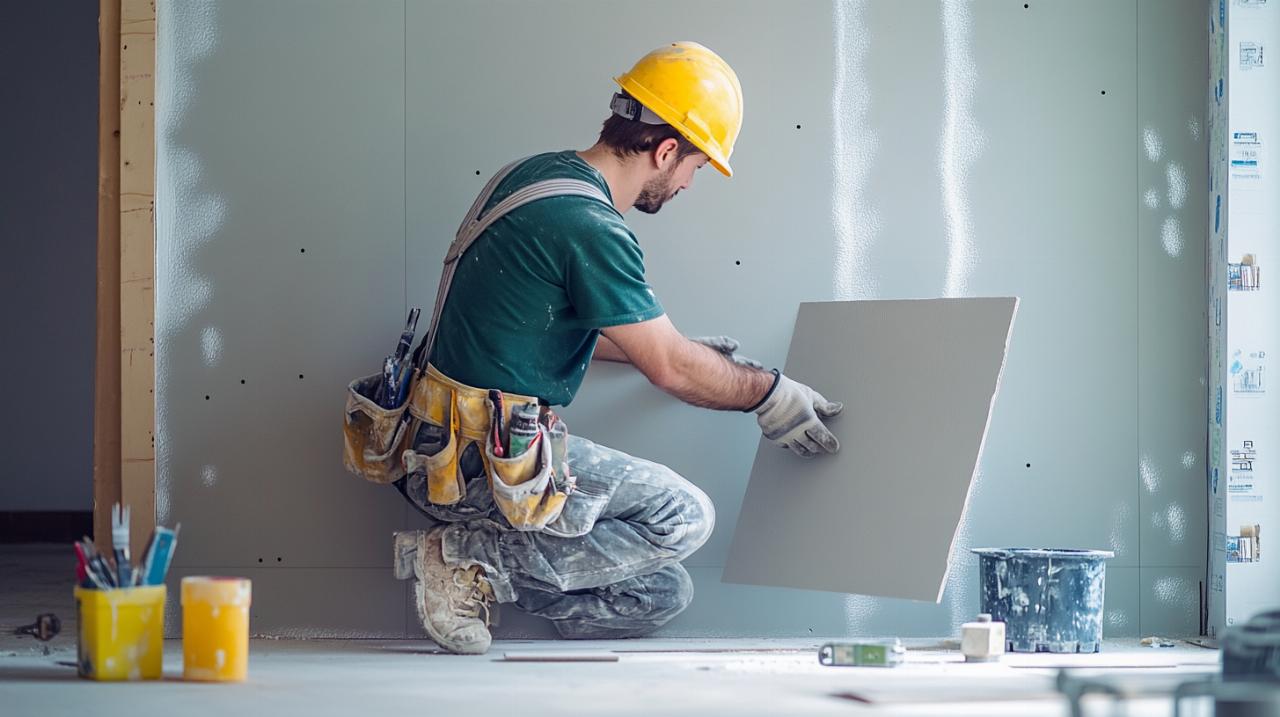
Once your preparation is complete, it is time to move on to the installation itself, where attention to detail and adherence to proven techniques will make all the difference. The goal is to create a seamless surface that requires minimal finishing work, and this begins with how you handle and position each sheet of plasterboard. Start by working from the top of the wall down, as this makes it easier to support the upper sheets while fitting the lower ones. Align the edge of the board with the centre of a stud or joist, ensuring that each sheet is firmly supported along its entire length. This alignment is crucial for maintaining structural integrity and preventing sagging or cracking over time. As you position each sheet, use a spirit level to check that it is perfectly vertical or horizontal, as any deviation will become glaringly obvious once the finishing work is complete.
Securing Panels to Studs and Joists for Maximum Stability
Securing plasterboard to the underlying framework is a task that demands precision and care. Begin by driving screws through the board and into the studs or joists at regular intervals, typically every twelve to sixteen inches along the length of the board. Along the edges, where two sheets meet, it is advisable to place screws every eight inches to ensure a secure bond and to prevent the edges from lifting. The screws should be driven in just below the surface of the board, creating a slight dimple without breaking the paper face. This dimple will later be filled with joint compound during the finishing phase. Avoid over-tightening the screws, as this can cause the core of the plasterboard to crumble, weakening the hold and potentially leading to future problems. If you encounter a screw that protrudes above the surface or sits at an awkward angle, remove it and reposition it slightly to one side. When working on ceilings, it may be helpful to enlist an assistant to hold the sheets in place while you secure them, as this reduces the risk of the board slipping and ensures that it remains level. For those interested in exploring more about the technical aspects of drywall installation, resources such as those found on villaauristela.es offer valuable insights into various home improvement topics, providing a broader context for your project.
Taping Joints and Finishing Touches for a Seamless Appearance
The final stage of drywall installation involves taping and finishing the joints to create a smooth, uninterrupted surface. This process, often referred to as taping and mudding, requires patience and a steady hand. Begin by applying a thin layer of joint compound along the seam where two sheets meet, using a putty knife or taping knife. Press a strip of paper or fiberglass tape into the compound, ensuring that it adheres firmly and that there are no bubbles or wrinkles. Once the tape is in place, apply another layer of joint compound over the top, feathering the edges outward to blend it seamlessly with the surrounding surface. It is important to allow each layer to dry completely before applying the next, as rushing this step can result in an uneven finish. Depending on the quality of the initial application, you may need to apply two or three coats of compound, sanding lightly between each coat to remove any ridges or imperfections. The goal is to achieve a surface that is so smooth and uniform that the joints become virtually invisible. Pay particular attention to the screws, filling each dimple with compound and sanding them flush with the surface. Once the final coat has dried, a thorough sanding with fine-grit sandpaper will prepare the wall or ceiling for painting or wallpapering. To ensure the best results, take your time with this stage, as any flaws will be magnified once the surface is painted. Many professionals recommend using a handheld sander or sanding block to maintain an even pressure and to avoid creating low spots. After sanding, wipe the surface with a damp cloth to remove dust, and inspect it under strong lighting to identify any remaining imperfections that may need attention. With careful attention to detail and the application of these professional techniques, your drywall installation will rival the work of seasoned tradespeople, giving your home a polished and refined appearance that will stand the test of time.